1. Respecting the Animal
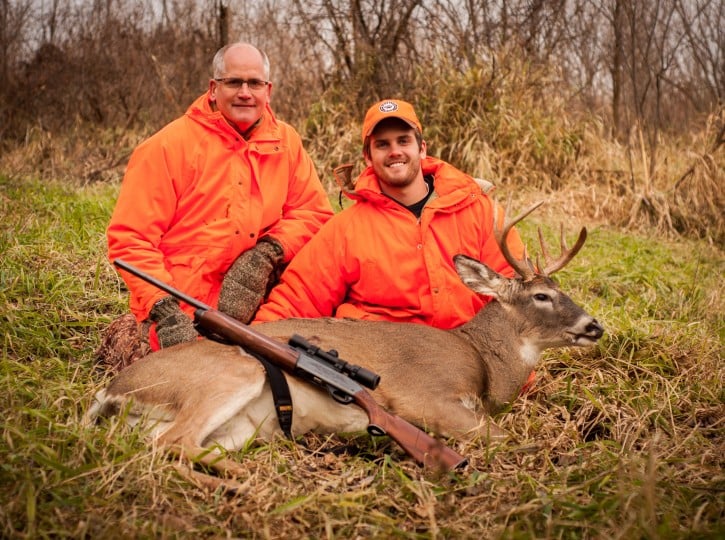
If you look at any article regarding deer hero shots, this tip will be in there, and for good reason! Nobody likes to see a blood soaked animal with it’s tongue hanging out, and a big gaping hole where you gutted it. Please have some respect for these amazing creatures!
There are some easy ways to put an animal in the best light possible. First off, stuff the tongue back in his mouth or you may have to even cut it out. Next is to either take a rag with some water and dab all of the blood off of the deer’s face or use one of my favorite tricks I learned back in college! As many of you know I spent a lot of my college years were spent in the field but this trick I actually learned in the classroom! I carry a small baggy of cornmeal with me when I’m going to photograph a deer. I’ll take the cornmeal and rub it around any bloody spots. It does an amazing job at soaking up blood and with a quick swipe of the hand; all the cornmeal falls right off! That’s straight from Mammalogy 485!
2. Posing
Unless you have an awesome old school ‘65 Chevy C10, I’d refrain from taking a picture of your deer in the bed of your pick up! Even worse, the meat pole noose shot! The ultimate faux pas is a hanging deer in your garage! I’m guilty of the same thing, I’ve taken countless photos in the past describing each one of these infractions. So in no way am I dogging on anybody, but maybe try to wean yourselves off of this photo set up.
Now we’ve gone over what not to do, Let’s move on to putting your deer in the perfect position. It’s a pose you see from all of the professionals and for good reason, it look great!
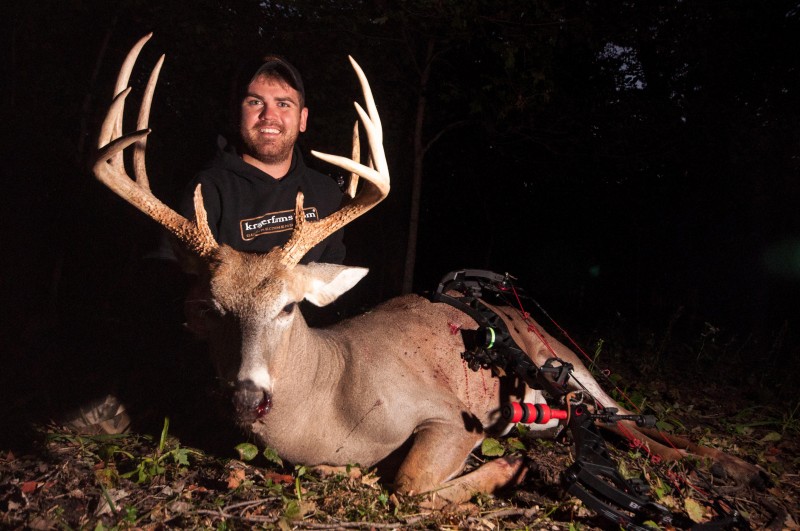
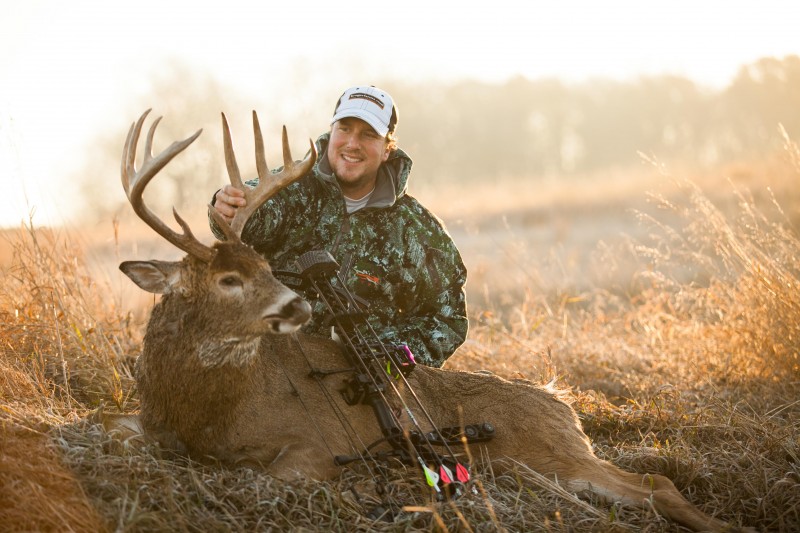
You can see the legs are curled in the “bedded” position, and creates the most natural pose for the deer.
You’re going to want to tuck the deer’s front legs underneath it’s body and prop it up with a log so it sits upright on it’s front legs. It’s the easiest to position the deer as soon as possible because as rigor mortis sets in, it will only become more difficult!
3. Capturing the emotion
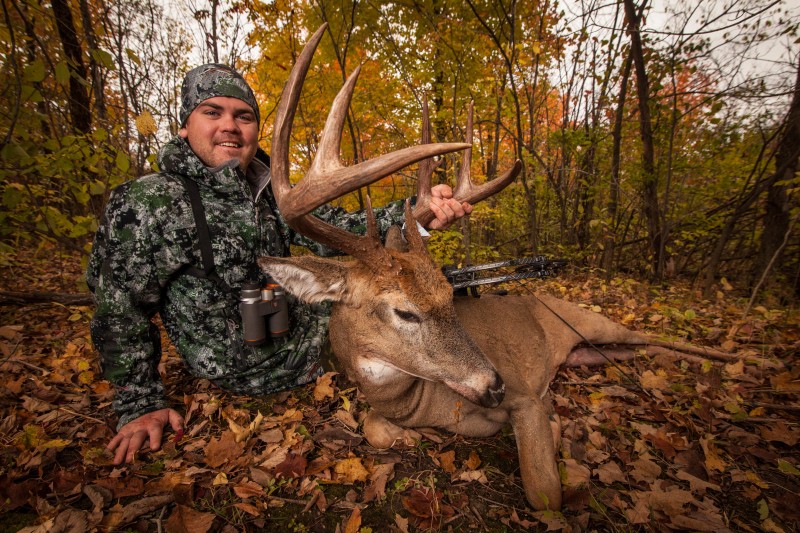
Deer hunting for me is very intimate and a very emotional journey. If I can capture the excitement of somebody walking up on a harvested animal, there is no substitute for it. It doesn’t matter if you’re the best actor in the world, the genuine smile and interaction with the animal will never be more natural.
4. Lighting
This is a crucial component to capturing an awesome photograph! I’ll start by saying the golden hours, the hours right after sunrise and the hour right before sunset, will hands down make or break your photo. When you get to the midday period, the light becomes hard and will create very hard shadows.
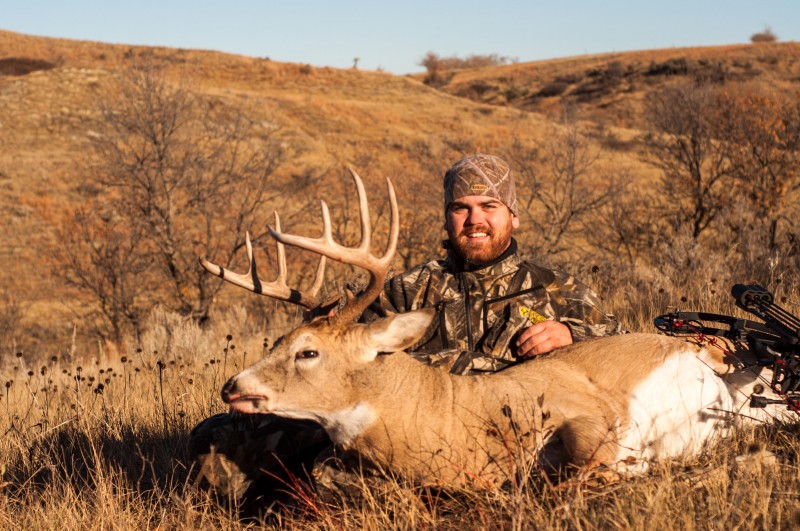
This is an example of a front light, the sun is hitting square to myself and the deer. You can see it lacks a certain something.
While many articles will say having the sun right on your face is the best, I beg to differ. To create a mood to your shot I’ll experiment with having sunlight coming in from a different angle.
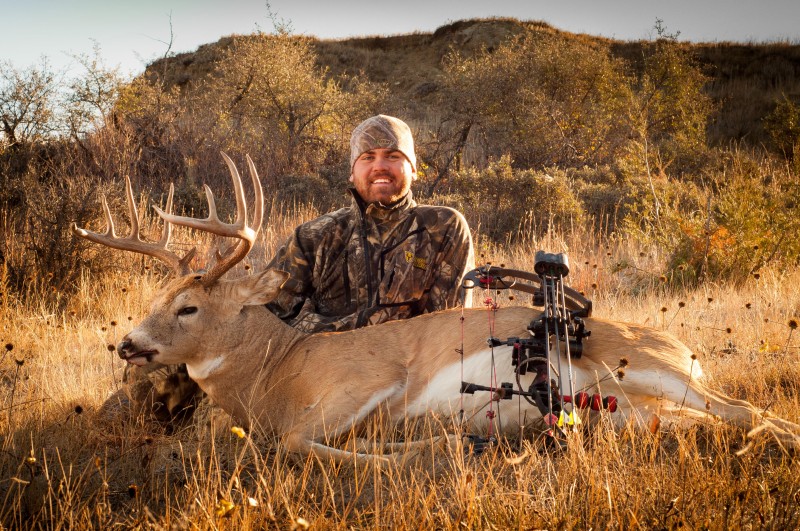
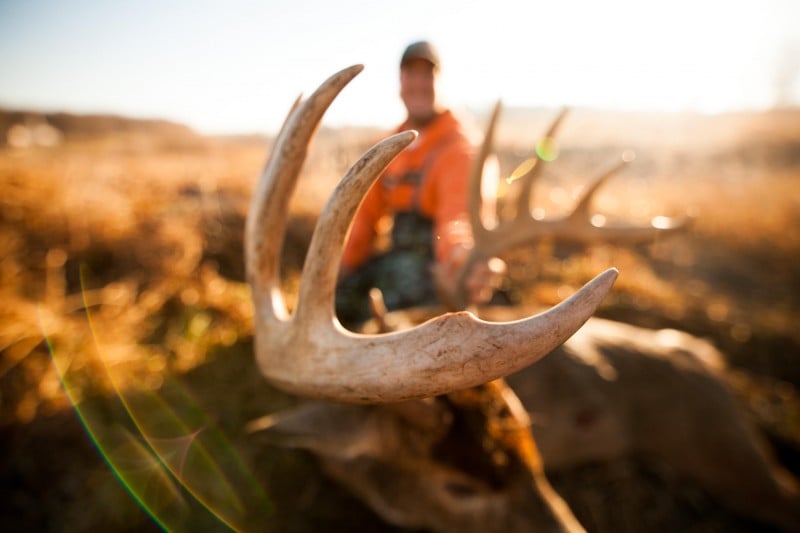
This is an example of backlighting, it seperates myself from the background and gives the pop the last picture lacked.
One of my favorites is a backlight. It can be hard to achieve without silhouetting your subject but the light chiseling out your subject looks amazing!
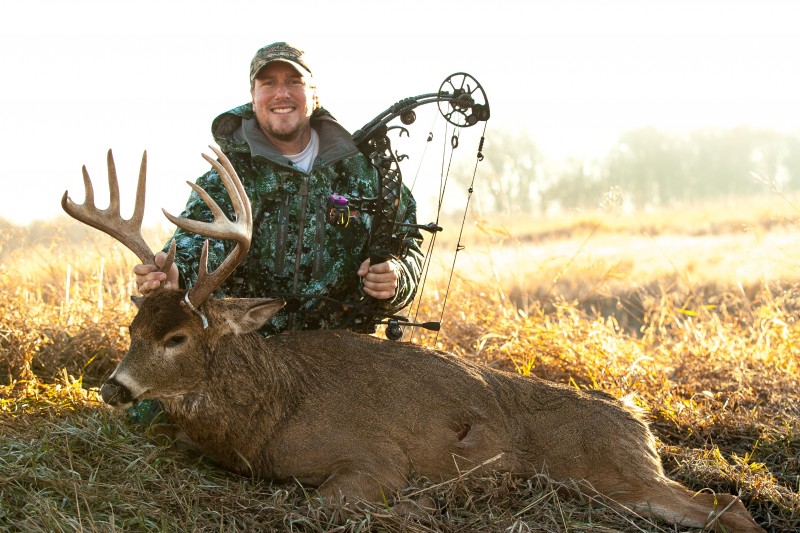
Side lighting is often the easiest as it helps eliminate a lot of the shadows which backlighting can create. You can see the light hitting the side of Matt’s face.
Another one of my favorite is a sidelight. I’ll position the deer so the sunlight is coming in at a 90 degree angle to the deer, so as you look at the deer from a photographer’s point of view the light would be hitting the deer’s head first and then falling off towards its backend. This is one of the easiest shots to get if you are limited on time but still want to create a unique image.
While we are on the subject of lighting, if you are shooting in the “golden hour” period, turn the flash off of your camera; it’s a great way to ruin the shot!
5. Detail Shots
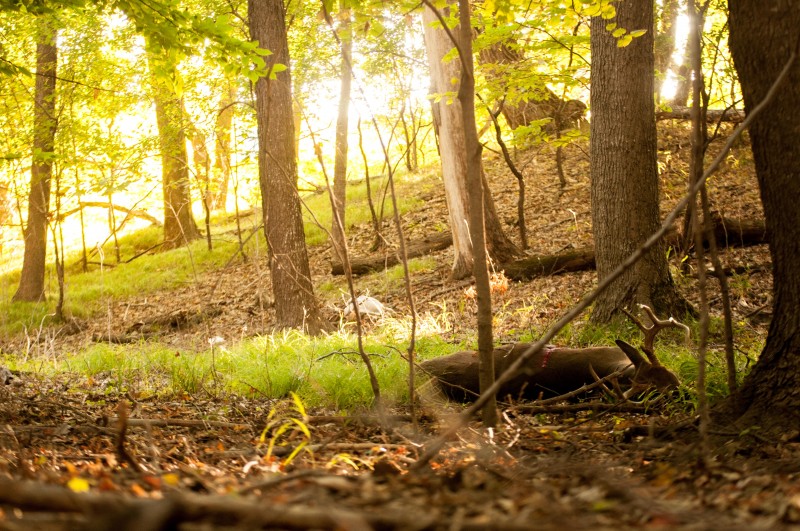
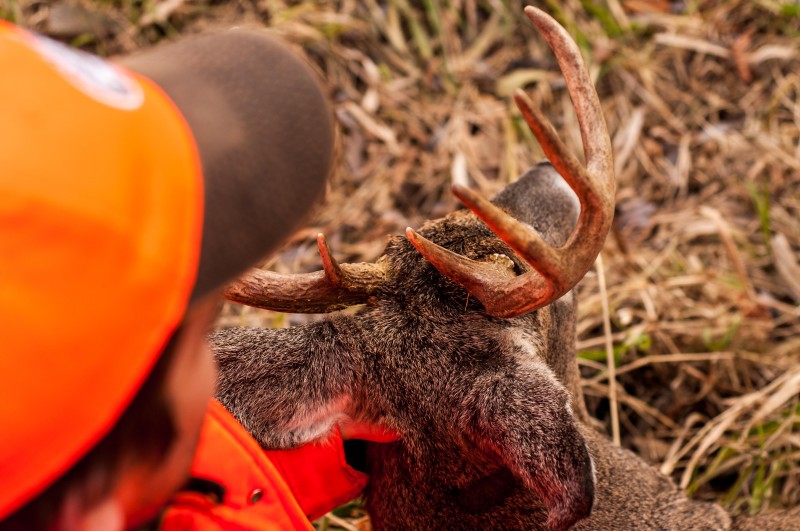
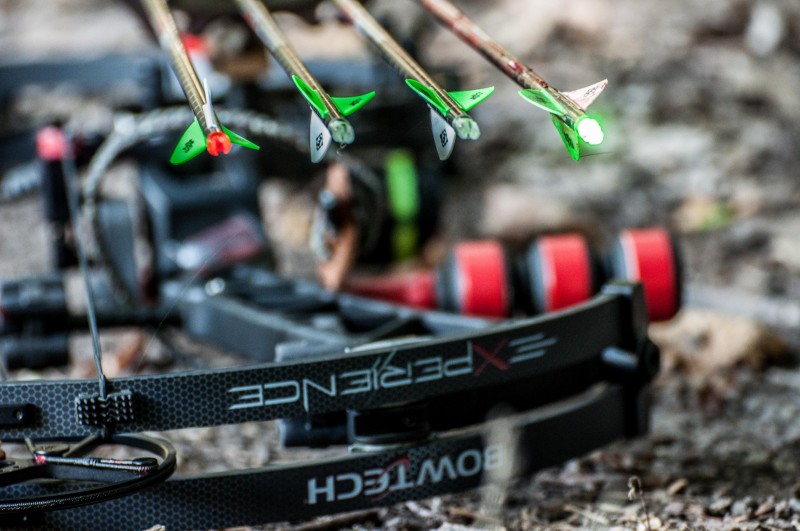
Some of the best pictures I’ve taken of deer are really close in shots. Whether it’s a tight shot of the antlers or the hunter putting on the tag, it’s an amazing ways to tell the story. On the same subject, taking a close up shot of the broadhead you used or the bloody fletching are shots you won’t regret taking! To this day one of my favorite shots is the view I get walking up to my deer, it’s something which always helps pull me back into those amazing moments.
Here are some examples of what I like to call detail shots.
