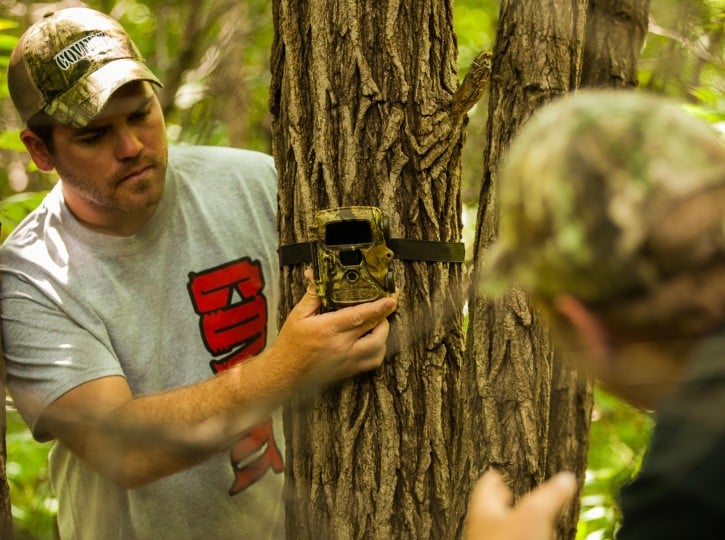
It’s time to dust off those trail cameras in the garage and strap them to a nearby tree! This is the first installment of a three piece article, showing you how and where to move your trail cameras throughout the season to achieve certain objectives. All in hopes of tagging a buck of a lifetime, year after year!
As the July heat turns into the sweltering days and cool nights of August, there are a few key objectives I am trying to accomplish by running cameras.
– Locating and identifying mature bucks
– Determining a sex ratio
– Quantifying the amount of deer
– Determining age structure of herd
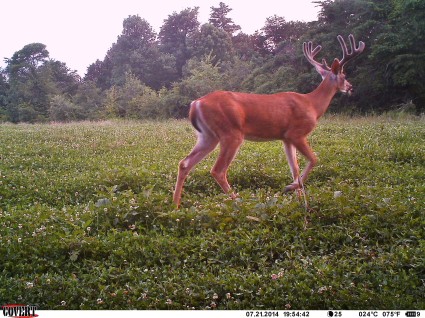
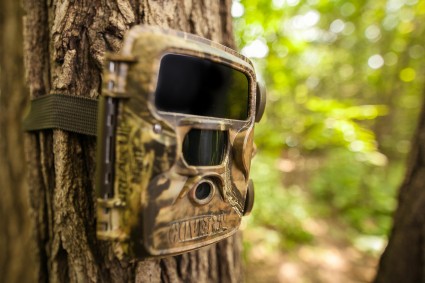 First and foremost I’m setting up my cameras to find out which deer are using my properties and establishing a hit list for the upcoming season. This includes finding out which deer survived from last year, and how their antler growth has changed from last year.
The ratio of adult bucks to adult does is another important aspect as you prepare for the season’s harvest. Often there will be more does than bucks in your area and attempting to manipulate the ratio will not only improve your chance of harvesting a buck, but will provide increased rutting activity and likelihood of deer responding to calling, and scents.
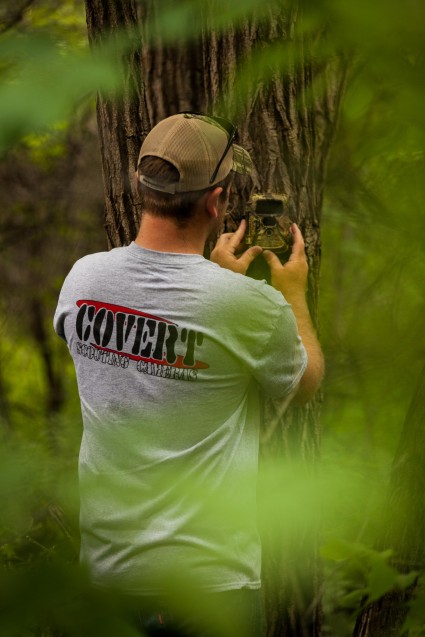 Secondly, it provides the number of does ideally needing to be harvested in order to bring your sex ratio to the magic 1:1. A ratio of anything in the neighborhood of 2 does to 1 buck is a great number to shoot after. In reality, the highest pre-hunt buck to doe ratio possible, if there is normal reproduction, and recruitment, is about 5:1. So when you hear people talking about 15:1 ratios, it’s biologically almost unfeasible. The reason why this is a common myth is because people often see more does than bucks on camera and on the hoof, thus skewing the buck to doe ratio.
Determining the amount of deer in your area goes hand in hand with the sex ratio. It will allow you to better determine how many deer you will want harvest during the season and give you a better understanding of year-to-year population dynamics on your property.
Again, determining the age structure of your deer herd will give you a better insight into setting harvest and management goals for the upcoming season and seasons to come.
Setting up your August Trail Camera Survey
If you wonder why do people conduct surveys in August as compared to say July or September. There are two main reasons why August is your month to get a good picture of the deer herd on your property. The first, is bucks have almost reached their max antler growth for the season, giving you distinguishable features to identify unique deer. If you would do this in July, many of the deer could still be waiting for a last minute growth spurt or matured early, giving you a false representation of those deer. Why not do a survey in September when I am already running cameras by my stands?
Setting trail cameras is inherently disturbing deer, and often times making a larger than necessary impact so close to the season can turn big bucks nocturnal in no time. As we will later discuss, the positions of trail cameras for a summer survey will be much different than when you are approaching a hunt later in the fall
 Now, to get into the details of how to set up your summer survey!
As a rule of thumb, you will want to start out with about one camera per 60-100 acres. Obviously, if you can afford more, then put them out, it will only give you a more accurate survey of your land.
Next is to determine the best location to place the cameras to get the most accurate representation of deer and the highest quality of photos. During the summer months deer are going to be relating to food, water and mineral. These are three great choices to begin your search.
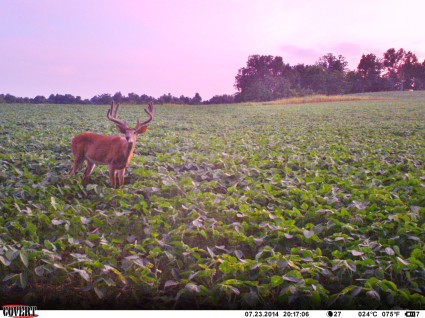 Food is one of the main drivers for deer during the summer and Soybeans are often king in agricultural areas. Also, if you have planted a spring or summer food plot, you have the perfect place to conduct survey.
Find a corner of the plot or field where deer are entering/exiting, close enough where you can drive right to the camera or very close to it. This is important, as you do not want to be trudging through the area you plan to draw deer in, leaving scent, and spending unnecessary amounts of time in the area.
Ideally, year after year you will want to conduct these surveys in the same location, as the deer will become conditioned to those areas in August.
After you have found a natural area where deer are concentrated, setting up the camera and attracting deer to the exact site is next. There are two trains of thought, on getting deer right in front of the camera. The first is pouring a 50 lb bag of corn about 20 feet in front of the camera in a straight line running parallel to it. This allows for deer to spread out, and you can achieve the best pictures.
The next techniques are something to try if your state regulations don’t allow baiting or you’re just not too keen about the idea.
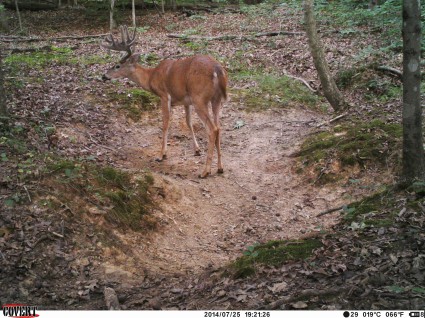 Mineral sites are great options to conduct your survey, along with providing the necessary nutrients for your deer to grow big ole’ antlers! The key to picking out the right mineral is finding one with a high sodium content. Sodium is the mineral most sought by white-tailed deer when using mineral licks (Weeks, 1978; Kennedy et al,. 1995) Sodium is considered the mineral most limiting to growth and reproduction of mammalian herbivores world wide. There is wide disagreement on the exact needs of deer in terms of minerals but there is a rule I have always stuck to when picking out mineral
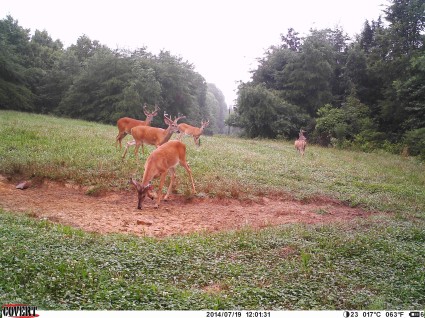 Antlers are composed of 20% Ca and 10% P, just like all of the deer’s bone. Many biologists call for a concentration of 16% Ca and 8% P in any salt which is put out for deer. Salt manufacturers say they can’t put high concentrations of NaCl, Cl, and P in block form, but can put it in loose granular forms in bags. So what does this mean? DON’T buy salt blocks! You’re better off spending money on loose mineral supplements.
So again, when choosing a mineral, sodium, Calcium and Phosphorous are the main ingredients you’re looking for! Again using the same mineral sight year after year will constantly draw deer to your area. Now we look at another bait free way to draw in deer.
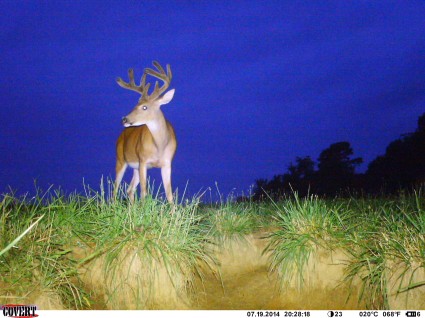 Something else deer can’t survive without? Water! When summer temps frequently bounce into the 80s, 90s and 100s, deer are going to be seeking water! It’s often times not hard to find the areas they are using, as there can be freeways leading right down to the waters edge littered in tracks. All deer have to drink and if water is a limiting factor on your property, then this is going to be a great choice to set up a camera.
What’s next? Mock scrapes! Now stick with me here, they aren’t just for the fall. Mock scrape have an excellent ability to draw deer in during the late summer. If nothing else, it’s a curiosity factor, which draws deer into photo range.
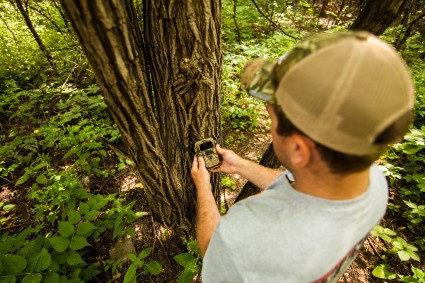 They won’t necessarily use the scrape, but if you compliment the scrape with a good overhanging licking branch, you better believe the deer will use it! One scent In-Depth Outdoors Pro Pat McSharry has had great luck with is the Buck Fever Synthetic Scents BF Gland. Douse the licking branch and the small mock scrape with the scent, throw up a camera and wait for Mr. November to show himself.
Another option to attract deer other than using corn is using a specialty attractant products. I’ve had great success using Big & J’s Liquid Luck and Meltdown. It comes in a small compact bag and has incredible drawing power from long ranges!
The next question to address is how long do we need to get an accurate survey? 10-14 days will give you a pretty accurate analysis of deer on your property if they are hitting the camera sites with frequency. In research, 10 days captured 85% of all unique deer, while 14 days captured 90% of unique deer.
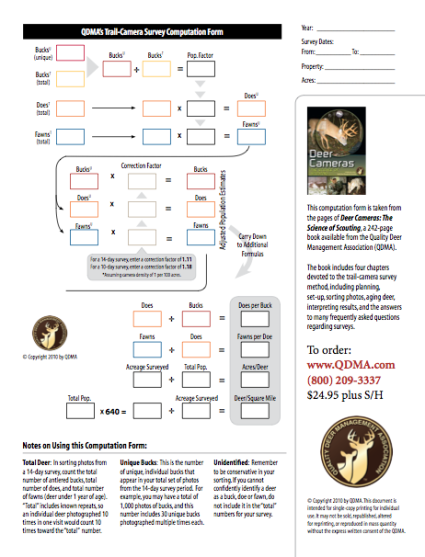 Now how in the world do we compute all of these population statistics from trail camera pictures? You’re in luck, you don’t have to be a mathamagician to figure it out! The Quality Deer Management Association has created an easy form to fill out in order to get these calculations! Just follow the easy to fill out form and you’ll have all of the information about your deer population at you finger tips! Now if you’re staring at this form with confusion don’t worry, there are a few tips which will make the process go a lot easier.
1. Identify Unique Bucks – The number of different bucks captured on your cameras will be entered in the unique bucks category.
2. The number of total buck photos will end up, in the bucks category.
3. The total number of doe and fawn pictures will go in the respective box. You don’t need to worry about unique does, as this would take one a looong time!
Here is a link to download the QDMA Trail-Camera Computation Form
After that, follow the flow on the form and you’ll be done!
This easy to use process will allow you to create management plans in terms of harvest, and figure out which buck is going to be #1 on your 2014 hitlist!
