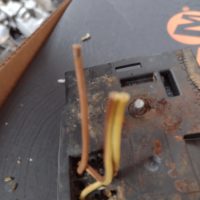
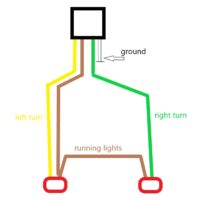
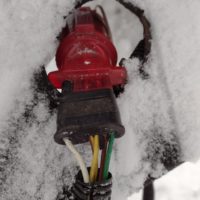
Yes, connect brown harness to brown light wire and yellow on harness to yellow light wire on new lights.
The only way to know what that 3rd harness wire does is to test it with a test light or multi-meter. If you don’t have a multi-meter, now is a great time to invest in one because believe me, as long as you own a trailer, you’ll need one.
If I had to guess, I would say that the harness marker included a dedicated wire to power either a license plate light or the set of center marker lights, which your trailer doesn’t have. So they knitted it in to a connection on the trailer lights just to cap it off. But that’s a guess. Whatever you do, cap it off with a crimp-on connector or heat shrink tube so that it doesn’t get loose and short.
If you kit came with those evil “Scotch Loc” pinch on connectors that don’t require cutting wires, do not use them. They are the playthings of the devil and they will slowly fail over time and drive you insane. Use proper crimp connectors and throw those POS pinch ons away.
All crimp-on butt connectors on trailer wires must be heat shrink sealed or use heat shrink crimp on connectors. Any butt connector left open will get water inside and corrode and fail eventually. Inspect all frame holes that wires pass through and install rubber grommets on any that don’t have them to protect the wires. Doing this now will save endless time chasing mysterious shorts later.
LED lights can be very ground-sensitive. Some brands of LED lights require a dedicated ground wire to the frame right at the light fixture. Using the trailer harness ground (white) or looping the ground wire to the mounting bolt on the light isn’t enough. Unlike incandescent lights that just get dim with a poor ground, LED lights just don’t work.
If you have a ground by the tongue, put a new loop on it. Use abrasives to clean the spot where it attaches down to bare metal. Re-fasten with a self-tapping screw and then cover the whole area with liquid electrical tape to prevent moisture from getting in and screwing up the ground.


