New Navionics SonarCharts Shading how to:
Playing around with the new Navionics SonarCharts Shading feature I am really starting to like this.Its been really nice to study lakes now as I can see more of the lake and structure and funnel spots start to stand out a lot more. Lets get setup out of the way!
1. Update your Navionics Hotmaps Platinum Chips if you haven’t already. When you update, make sure you select the new SonarCharts Shading feature. This is a large update so be patient. I started mine before I went to bed and it was ready when I woke up.
2.When complete put your card in your plotter. I am using the new Lowrance HDS Live units.
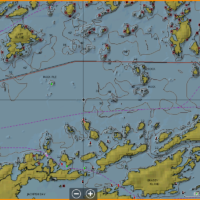
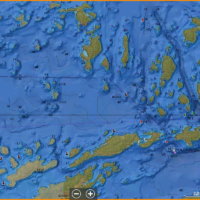
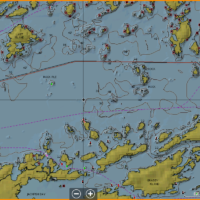
3. You will need to setup one main thing and that’s to put Photo Overlay to FULL. To do this: tap the pages button>Charts>Menu>More Options>Chart Options>Photo Overlay….This needs to be set to Full as you can see from the first screenshot. After that you can find your favorite lake which I just grabbed Rainy Lake as my demo lake and zoomed in. Keep in mind you cannot zoom all the way in. If you do it will revert to the maps which you would want.
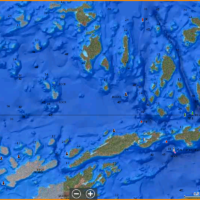
I also played around with the photo transparency (tap the pages button>Menu>More Options>Chart Options>Photo Transparency. As you can see below the second screenshot is set to Minimum and shows all of SonarCharts Shading for Rainy Lake. I then set it to 6 which you can then see some of the map contours coming through. Set to max (last screenshot) you really start to see more of the depth contours coming out. Keep in mind zooming in will provide you the 1 ft contours as you would normally see.
One thing I would also note, is when you’re running SonarCharts Live and if you’re not seeing your map being created. adjust your Photo Transparency until you do.
One last thing. if you haven’t…. Turn on your SonarCharts Layer! This really brings your mapping to life. All updated contours show up when this is on.
While you’re in your Chart screen tap Menu> More Options>Chart Options> and make sure Sonarcharts is on!


