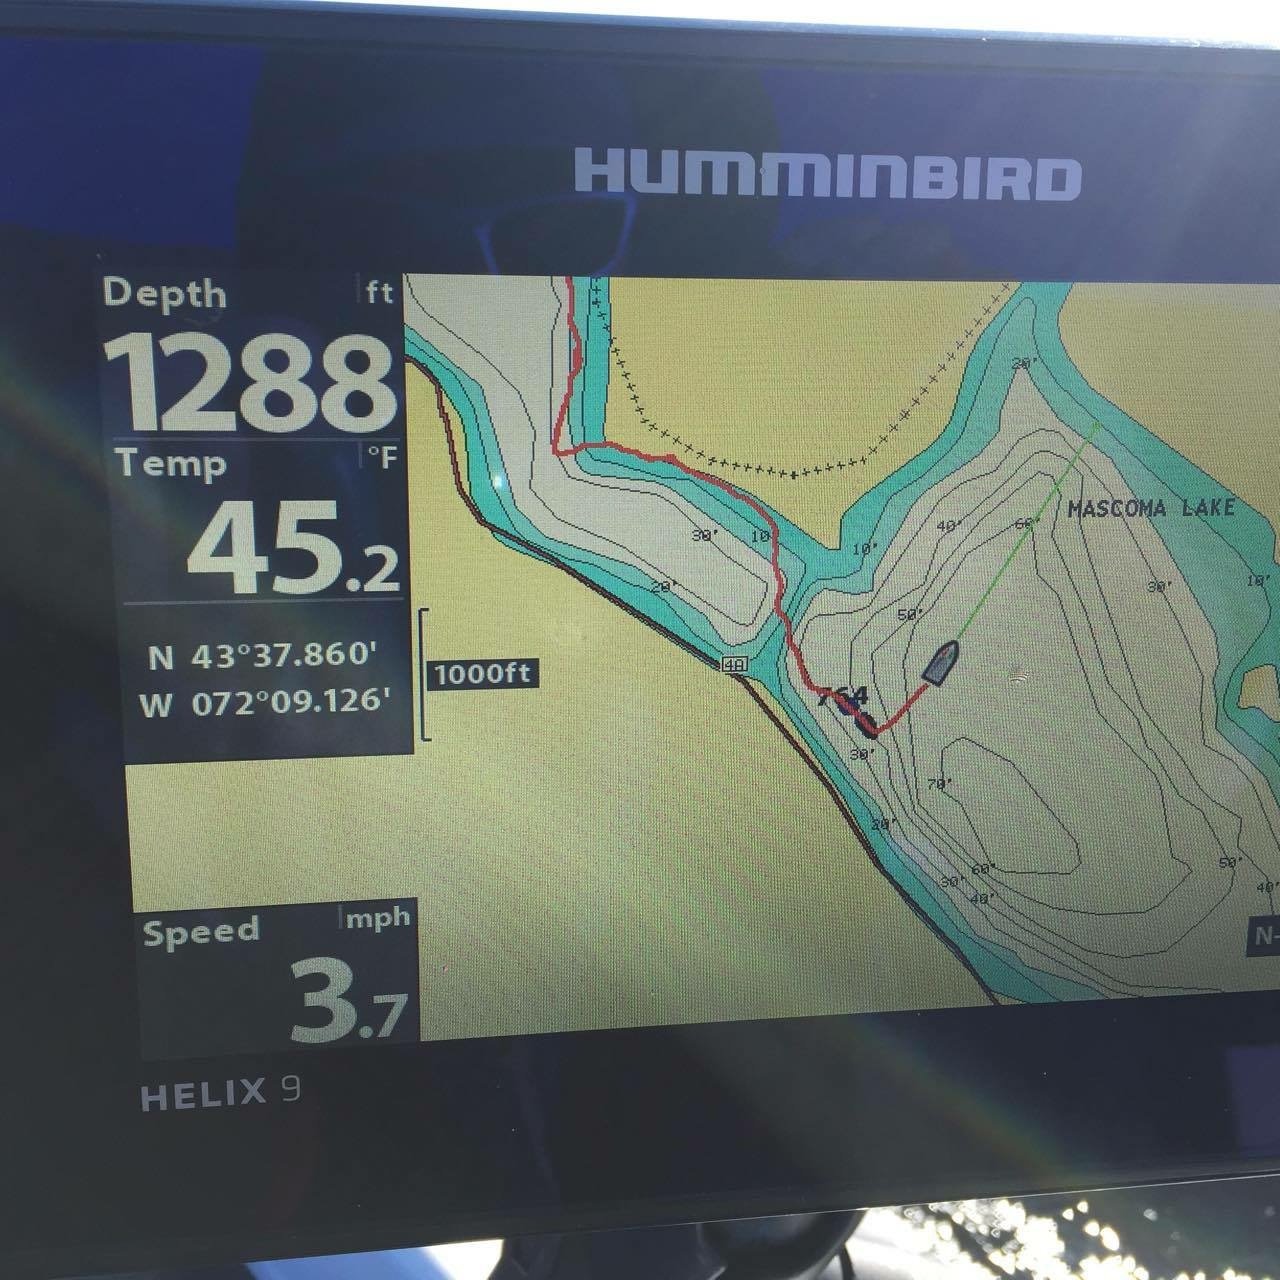
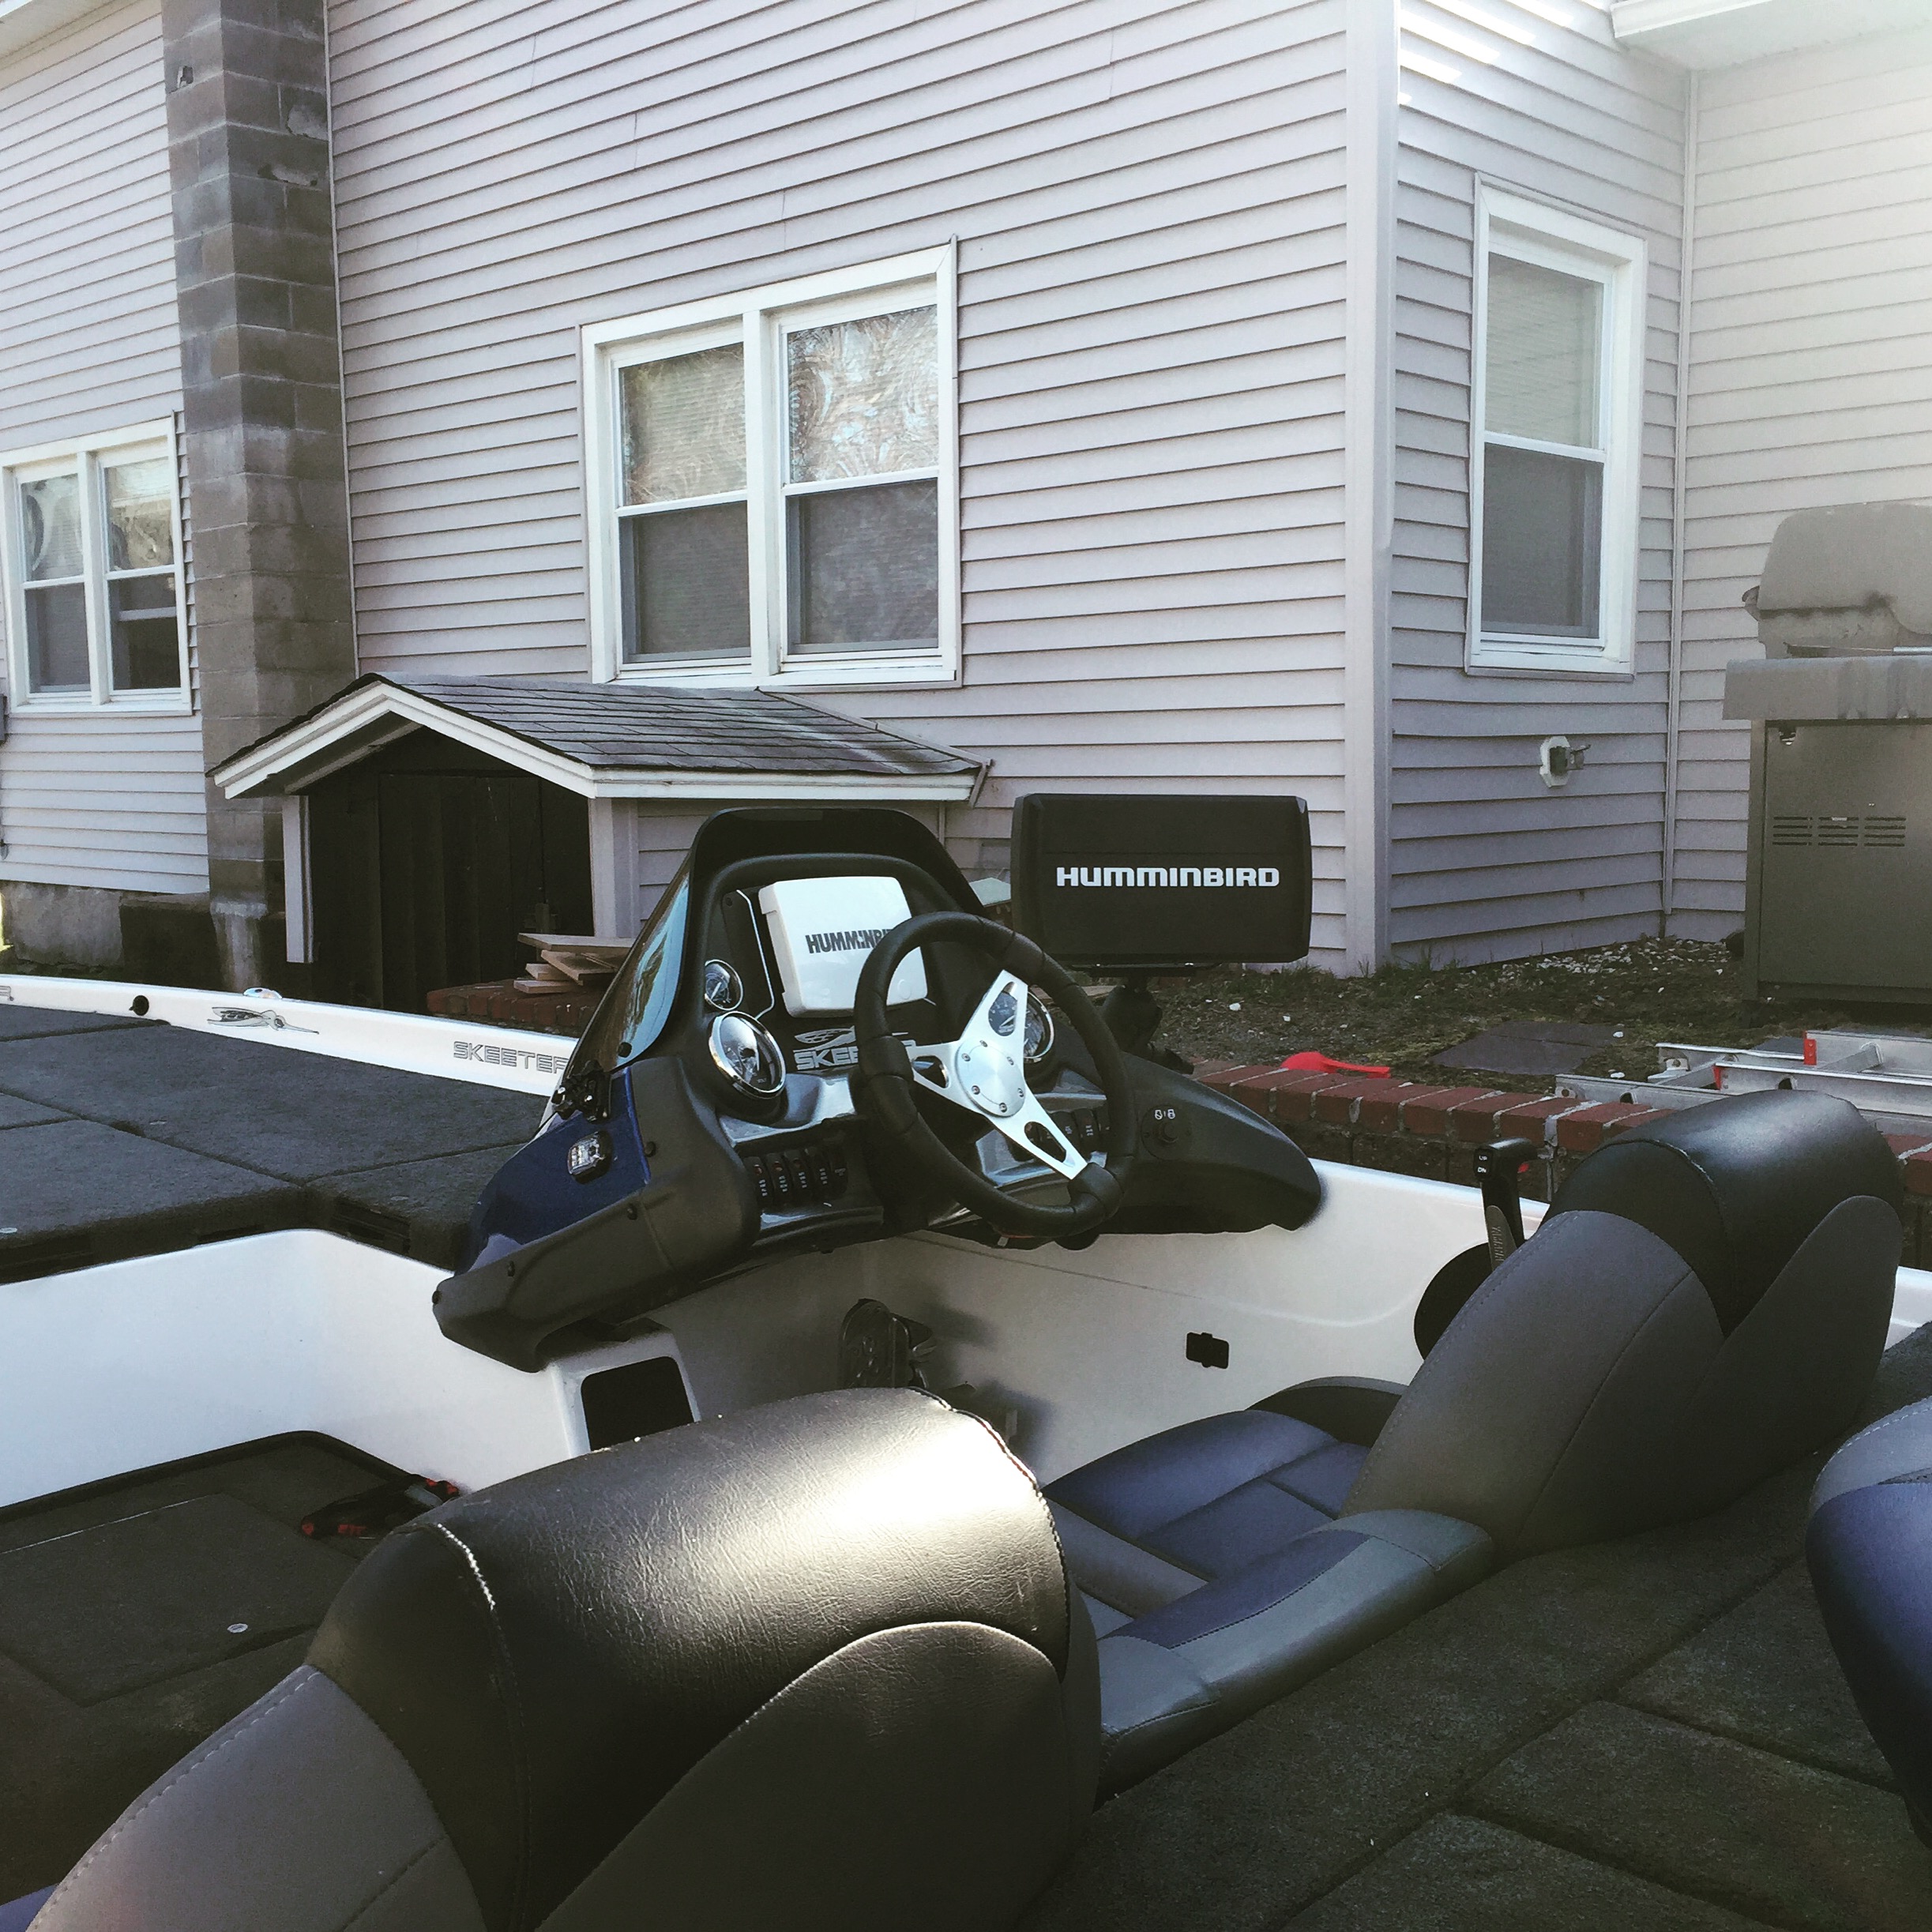
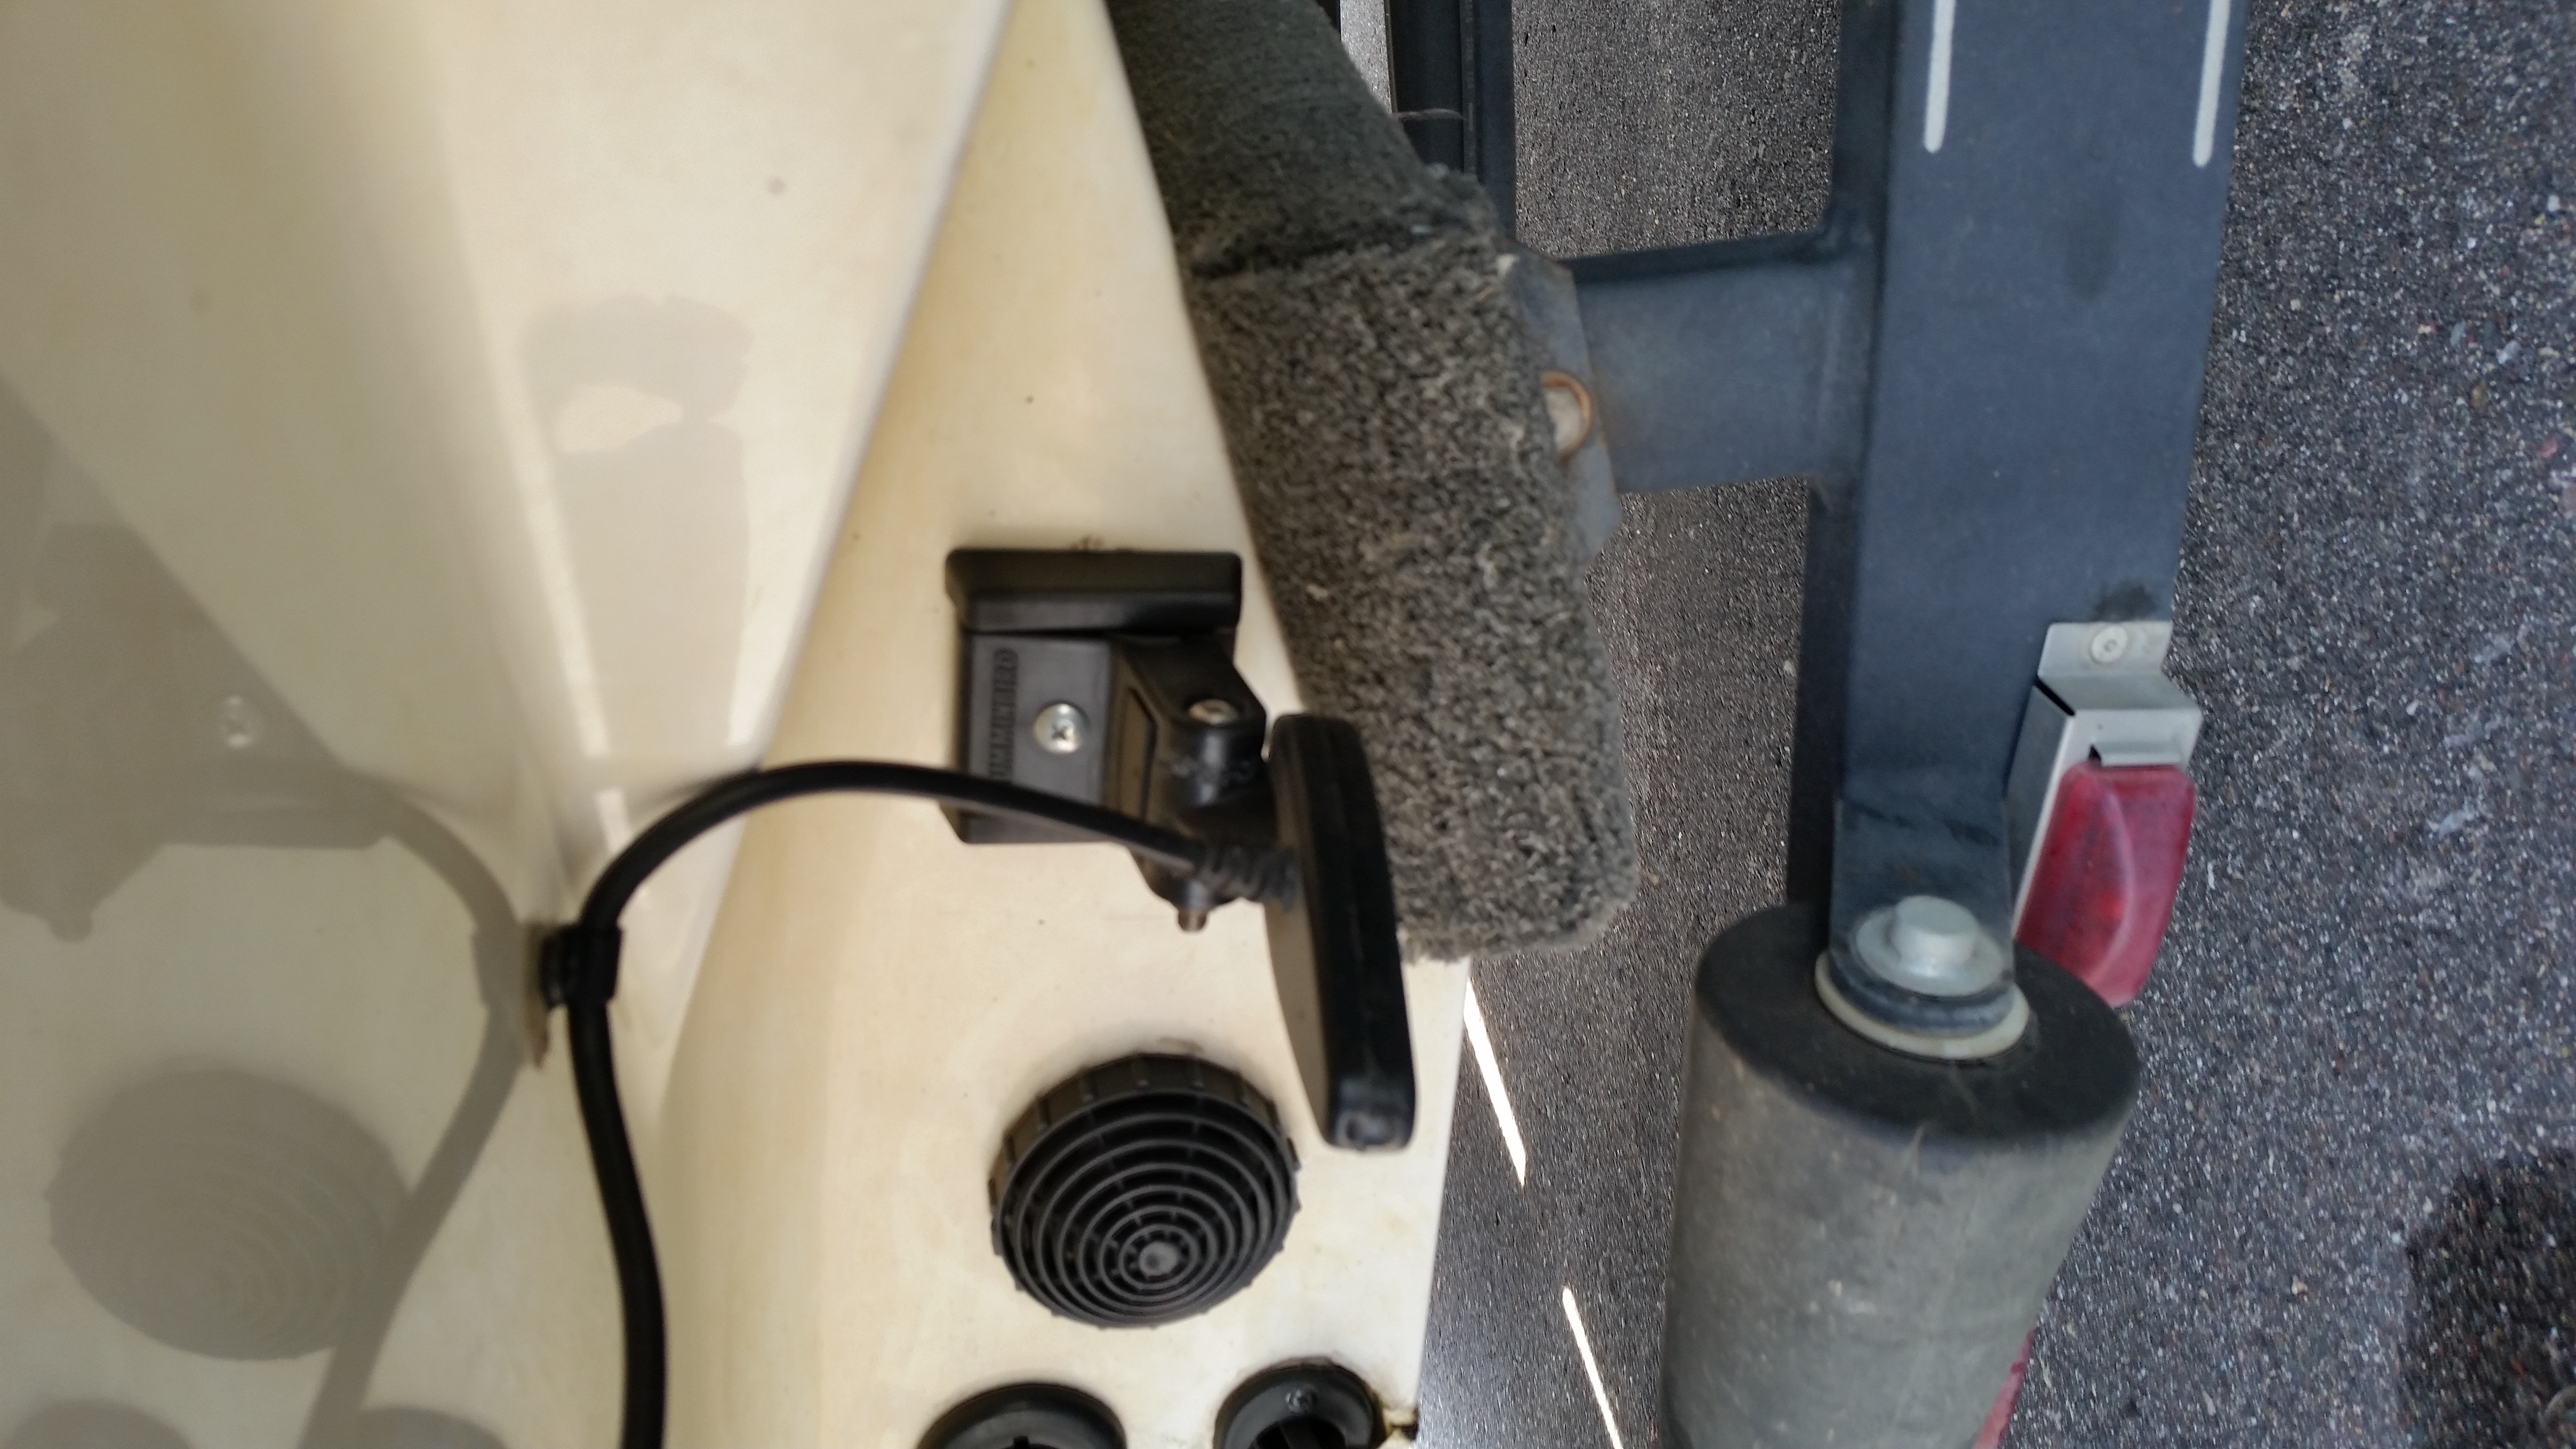
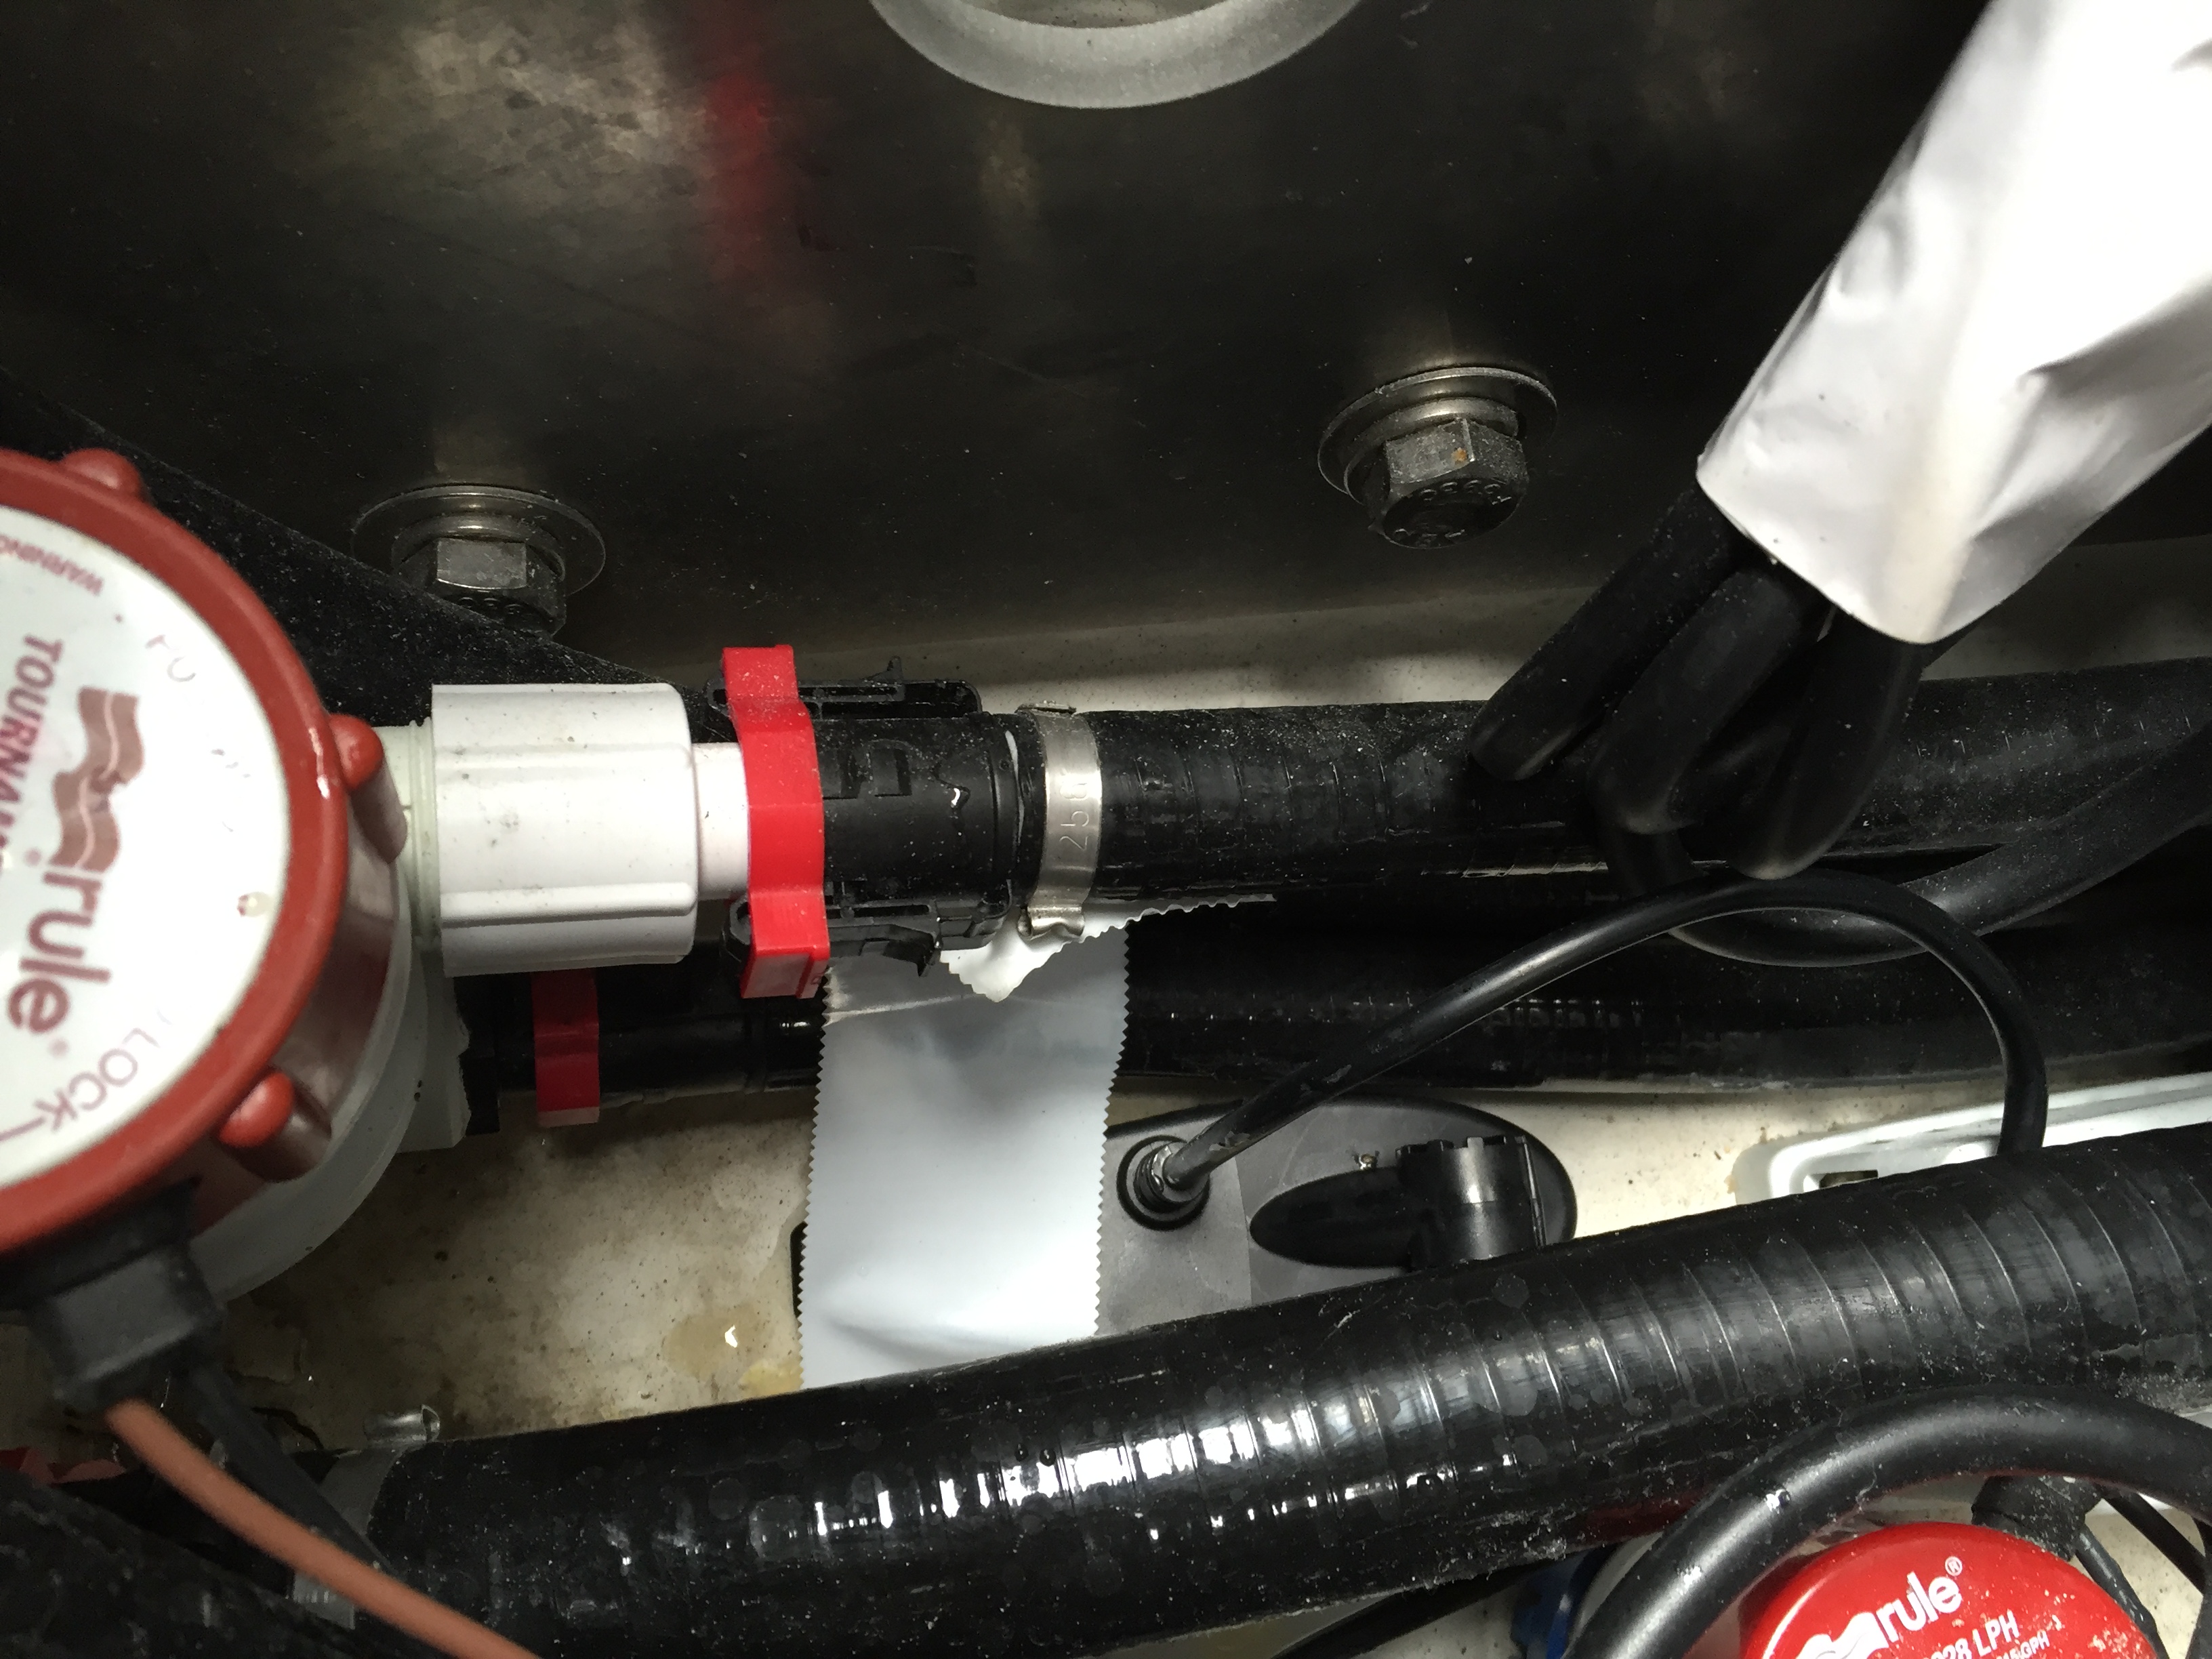
So this is my first time using a Humminbird of this caliber, and I was wonder why I keep getting such readings as this for depth. I’ve read the manual and to me it seems vague. I’ve tried changing the transducer settings, the KHZ, the angle, I have the helix 9 DI, with the transducer epoxyed to shoot through the hull…. As for my 788ci I have in the dash reads accurate, but I don’t know if the 2 transducers are interfering with each other? Any help would be appreciated…….
Attachments:

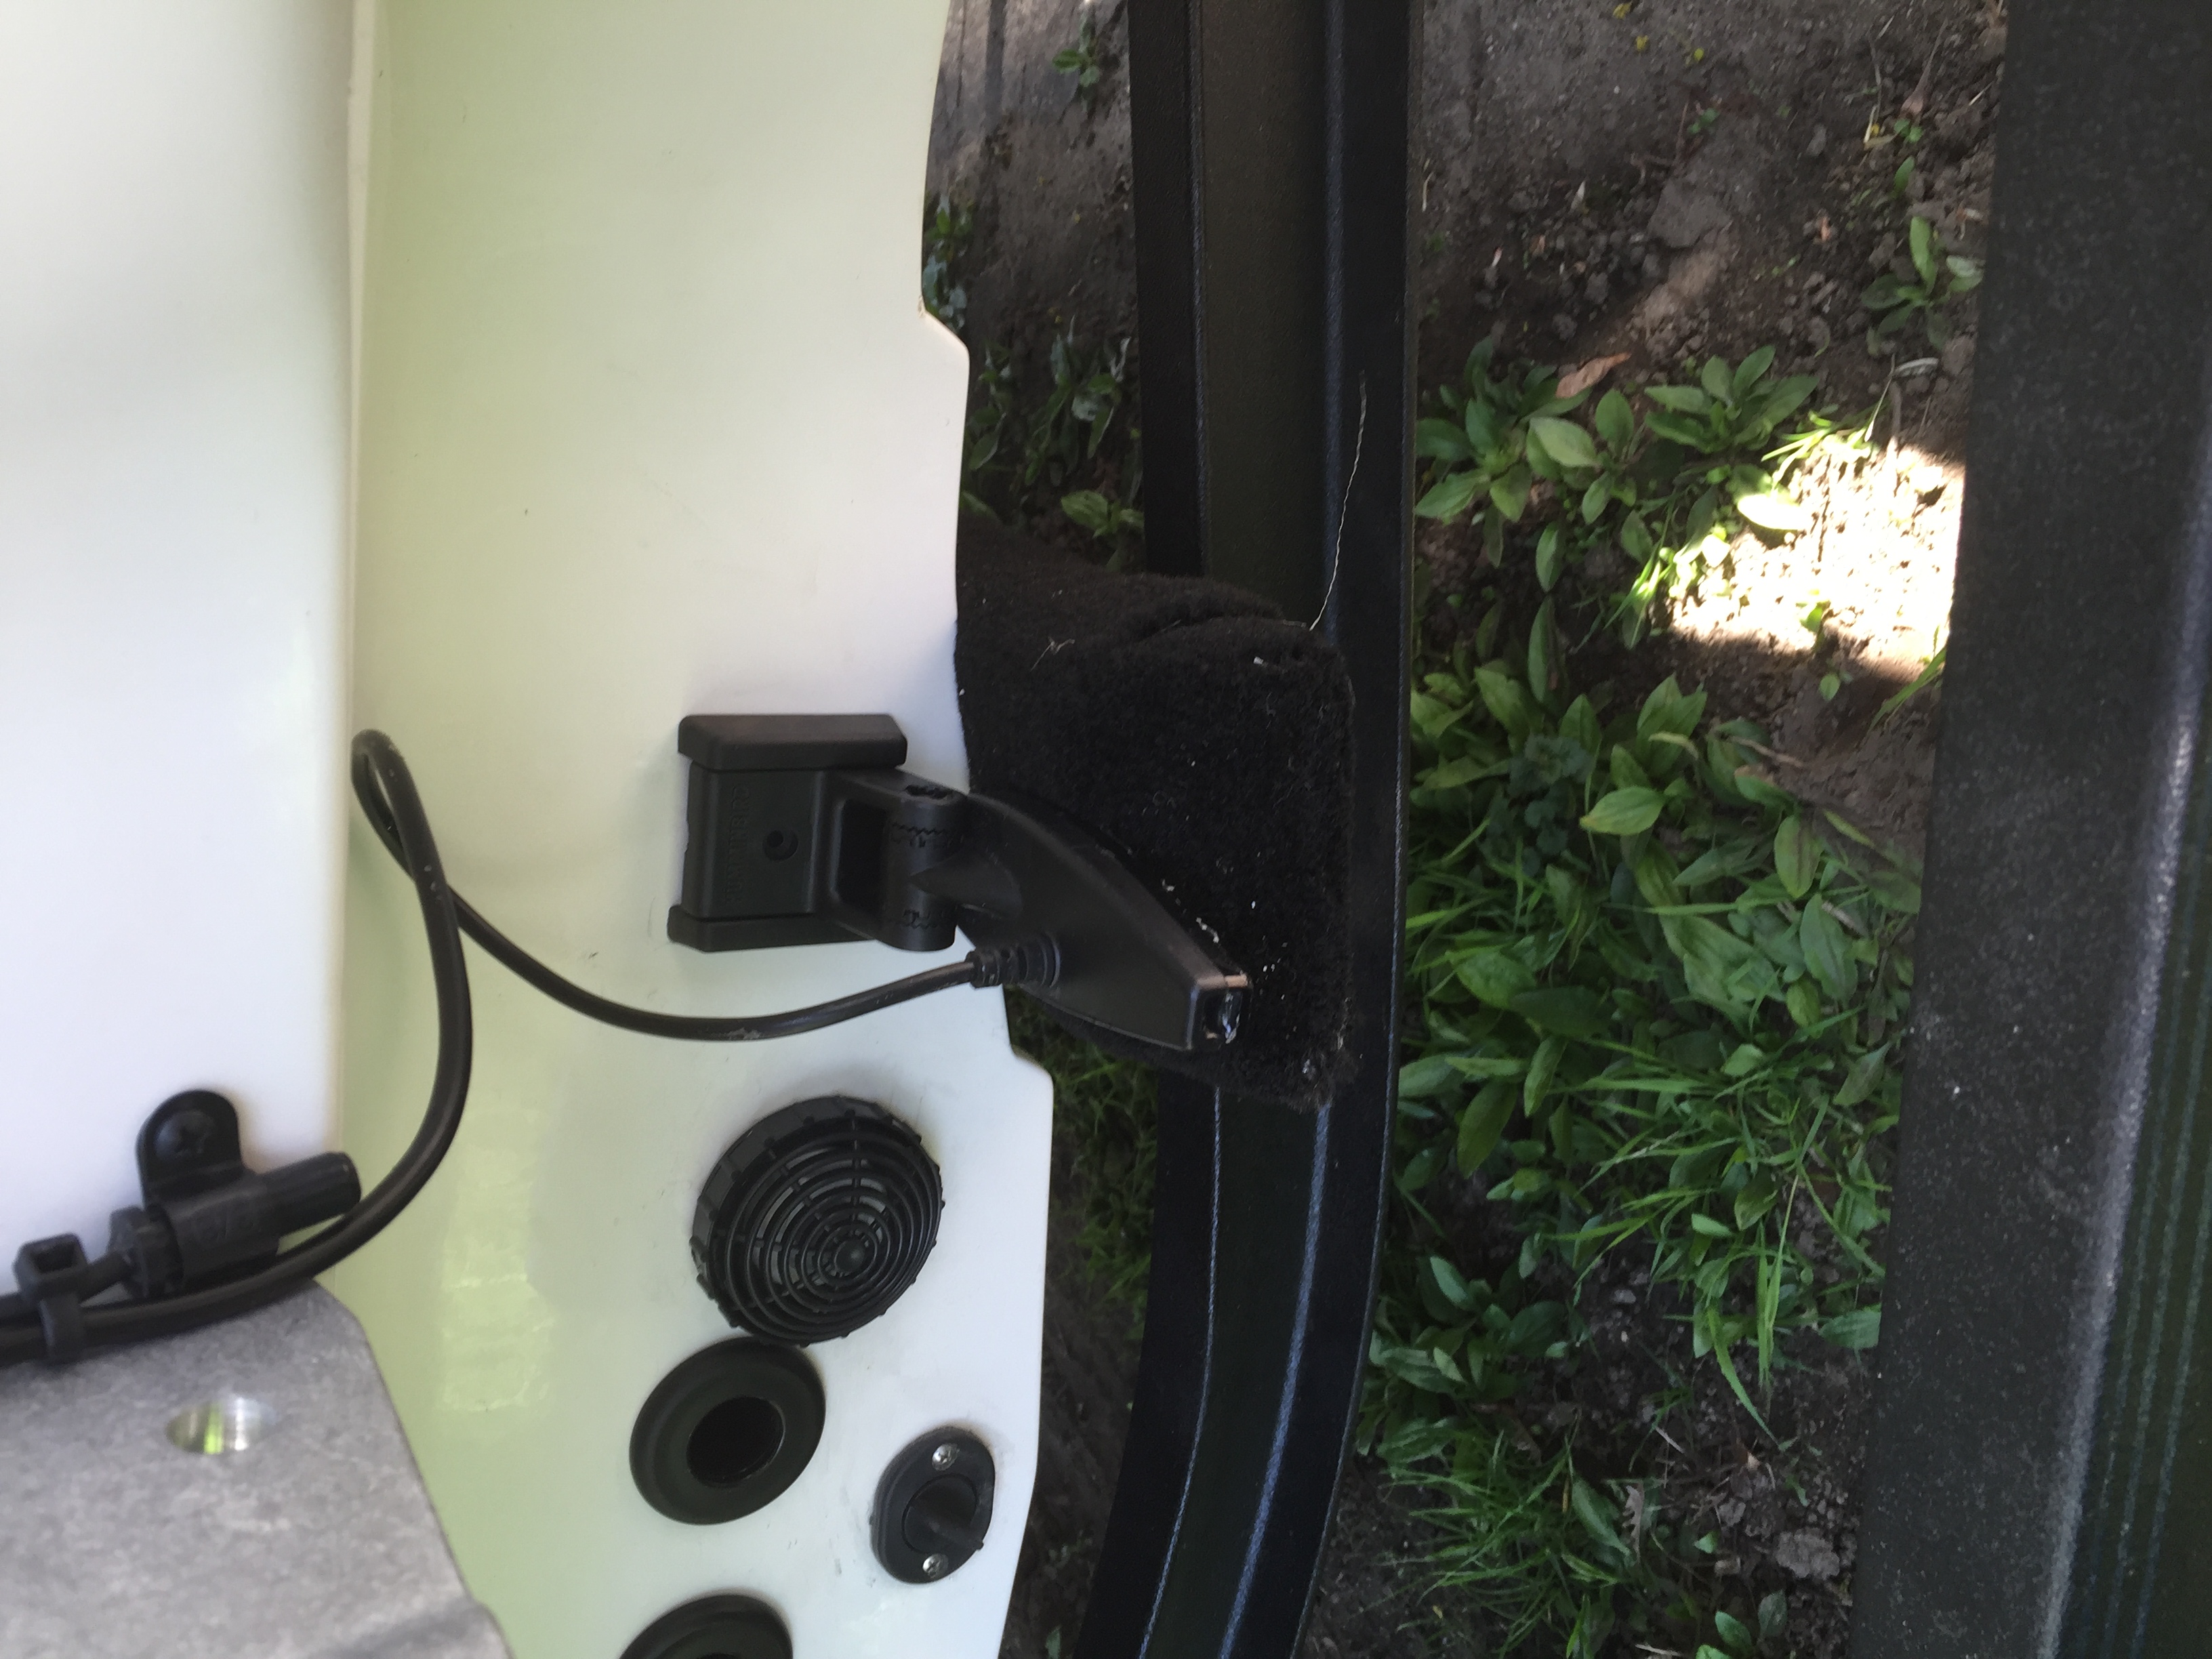
image-5.jpeg