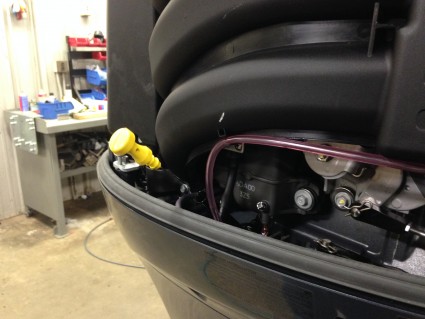
 Spring will be here sooner or later even if doesn’t seem like it right now. When spring comes and the walleye bite on the river gets going or, like me, if you wait for opening weekend, you’ll want to make sure your outboard is ready and raring to go!
After a long winter’s nap, there are some things that need to be checked before your engine ever sees the water. Some things have been done if you properly winterized your outboard, but after hibernating for a few months, things can happen. You don’t have to be a genius mechanic or even be mechanically inclined. Follow these steps, and 20 minutes later, if everything goes right, you’ll be ready to hit the water…or schedule a trip to the shop.
I always start with checking the fluids. On an outboard, whether it be a four stroke or two stroke, there is gear lube in your gear case. You will want to make sure that it is still full. If you forgot to change it in the fall, make sure it is free of water and change it now. If there is water in it, you will need to get it checked out by a marine repair technician to see what seals are leaking and to make sure no damage was caused by water that may have gotten into your gear case for an extended period of time. Then, if you have a four stroke, check the dip stick and make sure you have the proper amount of oil. You’ll also want to be sure that the oil is clean and ready for action. If you have a two stroke that has oil injection, you have a few more things to look at.
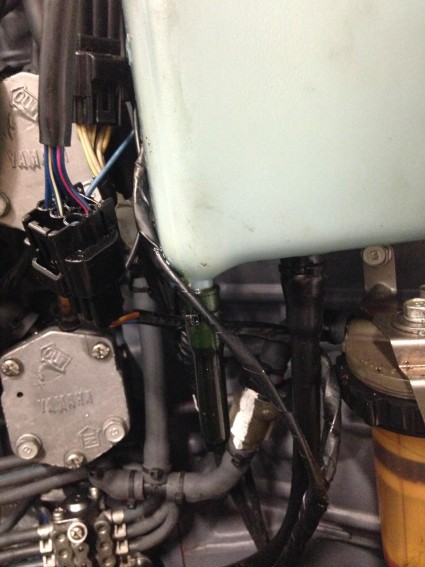
First, check for water in your oil, air in your oil lines, and debris in your oil tank. Many oil tanks on the engine have a sight tube for water to collect or a low spot to see if there is water. You can also just look to see if you can see a separation line in your tank. To do this you may have to loosen you tank and tip it on its side to get any water that may be present to run to one corner and collect together. This is also a time to look for debris. Sometimes I have witnessed the plastic seal, which has come off a bottle of oil to keep it from spilling when on the shelf at the store, get in the oil system and completely block the oil flow. This can easily cause power head failures. So, if you see water or debris you will want to remove it. Some oil systems have oil filters on them and this is also a great time to change that if it’s been a while or if you’ve never done it before. Now that you know you have good oil going to the engine, make sure your oil lines are full of oil.
Almost all Mercury and Yamahas have clear oil lines allowing you to see that it is all oil with no air or gas in the line. If a check valve goes out on a Mercury engine, it can actually back-feed fuel into the oil system. I have seen it push oil all the way back through the pump and into the small engine mounted oil tank. This can cause severe engine damage if not repaired properly. You can normally look at the oil line and see either air or fuel in it instead of oil. Take a close look at the lines and make sure they are not cracked because, over time, they dry out and will break in half causing severe engine damage. Also do a visual check for any leaks in any of the oil system. Now is also a good time to make sure you didn’t miss any grease zerks in the fall on your outboard as well. Normally there are one or two on the tilt/steering tube and one or two on the pivot tube.
By now, you would have the cowl off and you would know if there were mice or other critters taking refuge in your outboard over the winter. If you find any of these unwelcomed visitors, kick them out and check for any damage. For some reason, one of a mouse’s favorite foods, seems to be wire coating. Whoever wrote to if you give a mouse a cookie, obviously has never owned an outboard!
Now I have also seen them go through the prop hub up the mid-section and build a nest in a cylinder. This is a VERY bad thing, but as long as your engine was properly fogged, you won’t have to worry about it, as mice don’t enjoy lying on oil. The only way to check for this, other than cranking the engine, is to pull the spark plugs and look for evidence of mice. This is also a good time to change the spark plugs anyway.
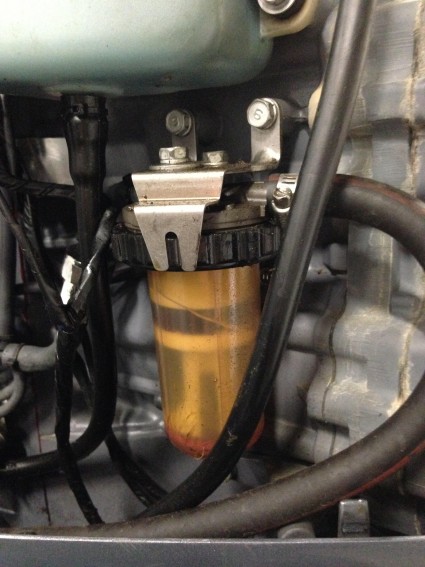
Fuel these days is a big issue but if you properly stabilized the fuel in the fall, you should be good to go. If you forgot to stabilize it, I would recommend starting with fresh fuel in your tanks. This is also a great time to change out or clean your fuel filters on your boat and in your engines fuel system. The highly advanced fuel systems we have today do not do well with contaminates, like water or debris, whether it be from the gas station or filings from the inside of a new fuel tank. There are a lot of fuel filters now a days and some of them require some tear down to get into different parts of the fuel systems to replace them. This is something that is likely best left to the professionals.
Belt maintenance does not just apply to four strokes. There are several models of two strokes that have belts that require maintenance for optimal performance as well. An Optimax and a Yahama HPDI both have belts running part of their fuel system. If a belt breaks, your engine will not run as well as it should. These belts should be checked and adjusted periodically. It is recommended to replace them every 1000 hours or 5 years. That is the same time frame on a Yamaha four stroke as well. Timing belts are supposed to be replaced every 1000 hours or 5 years as well. You can get more time out of them but if you wait too long, and your belt breaks, you more than likely will cause severe engine damage. In fact, this situation will more than likely result in complete power head failure. This is something that I don’t think a lot of people think about but many of these engines don’t run a timing chain like many car engines. They run a cogged belt that stretches and breaks down over time which is why it will need to be changed now and then.
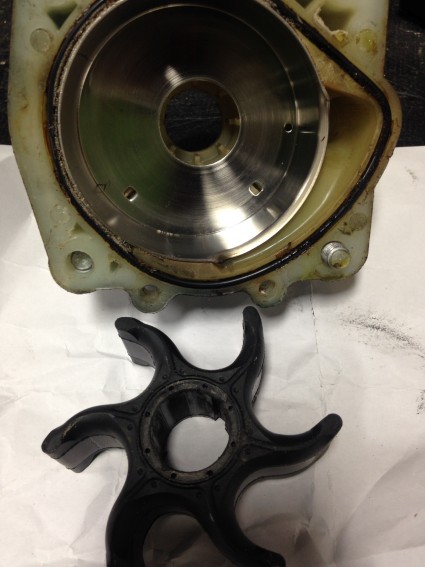
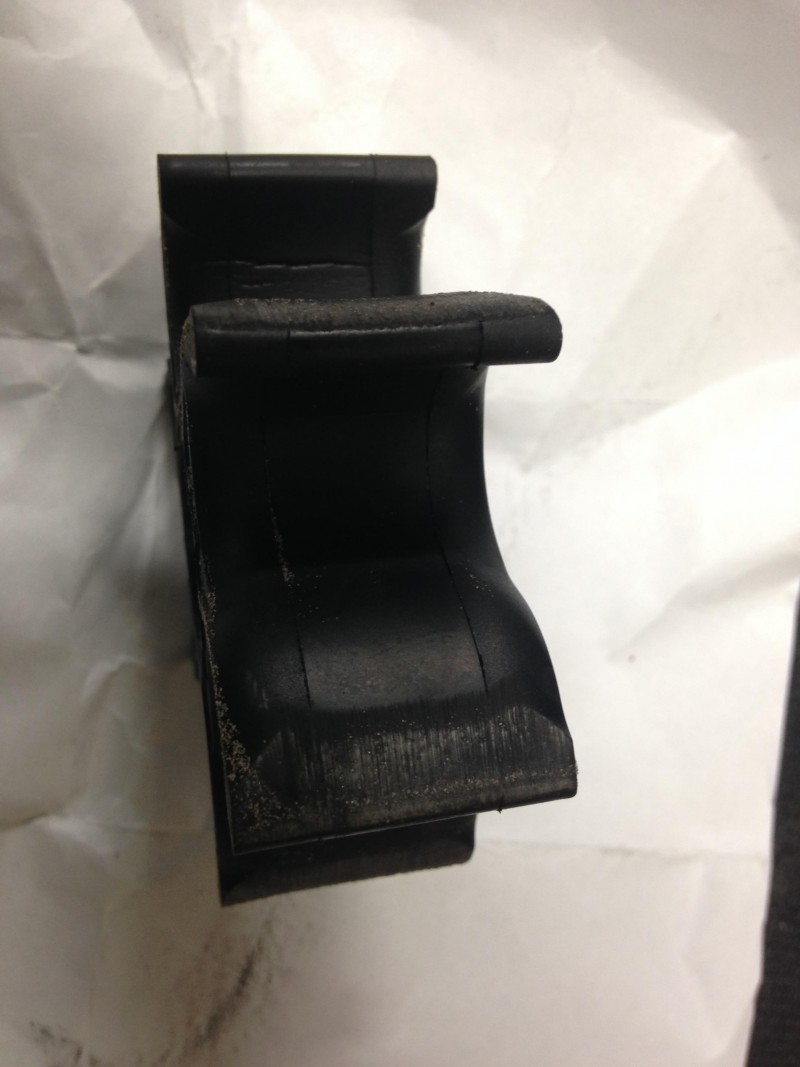
Now is also the time to replace your water pump. I don’t recommend doing it in the fall only because it is not good for rubber impellers to sit for months at a time, especially over the winter. It is good to start fresh with an impeller. Impellers are a big wear item and should be replaced every 2 to 3 years, depending on where you run your boat. If you move a lot of dirt or sand, I would say your impeller should be replaced every 2 years. If you are never in sand and are always in nice clean water, you will be able to stretch it out a couple more years. In my opinion, it’s not worth the risk of running an old impeller, or a worn impeller housing.
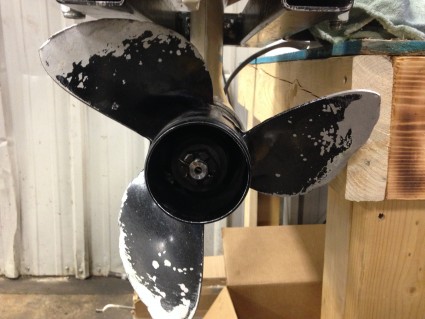
The spring is a great time to start out fresh with your prop as well. Some people don’t realize that it is often much cheaper to get your prop rebuilt than it is to run it beat up and out of balance. Running it out of balance can cause gear case damage and a loss of performance over time. Another thing not a lot of people look at are the bolts. There are only 4 bolts that hold most outboards to the transom or 2 hand clamps that hold smaller outboards. It is always a good idea to put a wrench on these to make sure they haven’t loosened up over time. Sometimes the transoms compress a little causing them to come loose. Loose outboards on the back of a boat are a very bad thing. I also recommend taking that a step further by putting a wrench on some of your bolts on your engine. The big ones that I see cause issues are where the battery cables attach to the engine or solenoid. You should do a visual check to make sure there aren’t any missing bolts or backed out bolts. Normally, if there are missing or backed out bolts, they are hidden really well but it’s always good to look.
The last big thing to check or get checked is your battery. Check for corrosion on the posts and the age of the battery. I would recommend getting your battery checked or, if you have a load tester, testing it yourself. You should also look at the order in which your wires are hooked up. You always want your engine leads on the engine first, so make sure they are clean and make solid contact with the battery. Next, you stack the rest on top of them and make sure to use a hex head nut and not a wing nut to hold them on. This is so you actually have to get them tight and because, when not tightened, they tend to vibrate loose like they would if you just finger tightened a wing nut.
If you take a little time now to check your engine over, it will save you time and money later on which will keep you on the bite when the bite is going.
How do you check your battery under load?
Thank you,
JOC
The way I check a battery under load is by using what is called a load tester. The tester will put a load on the battery to represent starting the engine. While its putting the load on it, it is checking it to see if it can actually handle the load or if it needs to be replaced. There are lots of different load testers including the newer digital testers which will actually tell you how many cranking amps your batterie is actually putting out.